Pokazywanie postów oznaczonych etykietą tutorial. Pokaż wszystkie posty

wtorek, 7 marca 2023

Warlord Epic ACW sprue and what to do with it

 As I dig deeper and deeper into Warlord ACW I started to play with it a little. SO here is a small sprue review and what I do with them and some suggestions.  Warlord made 2 ACW sprues. Original release sprue of infantry, and newer Cavalry/Zuaves sprues. This post is about original sprue.

So here is our protagonist. The Infantry sprue (ACW was Infantry war, and cavalry rarely engaged in pitched battles so here you have 90% what is needed for any ACW scennario :)


We have there: 1 command strip, 4 Infantry strip A and 5 Infantry strip B, and one  artillery piece and one commander. So we will end with overcrowding of commanding officers and unless you play on giant table in 5 stand unit ratio hunger of command bases. And I experimented with  multiplying them. But first things first

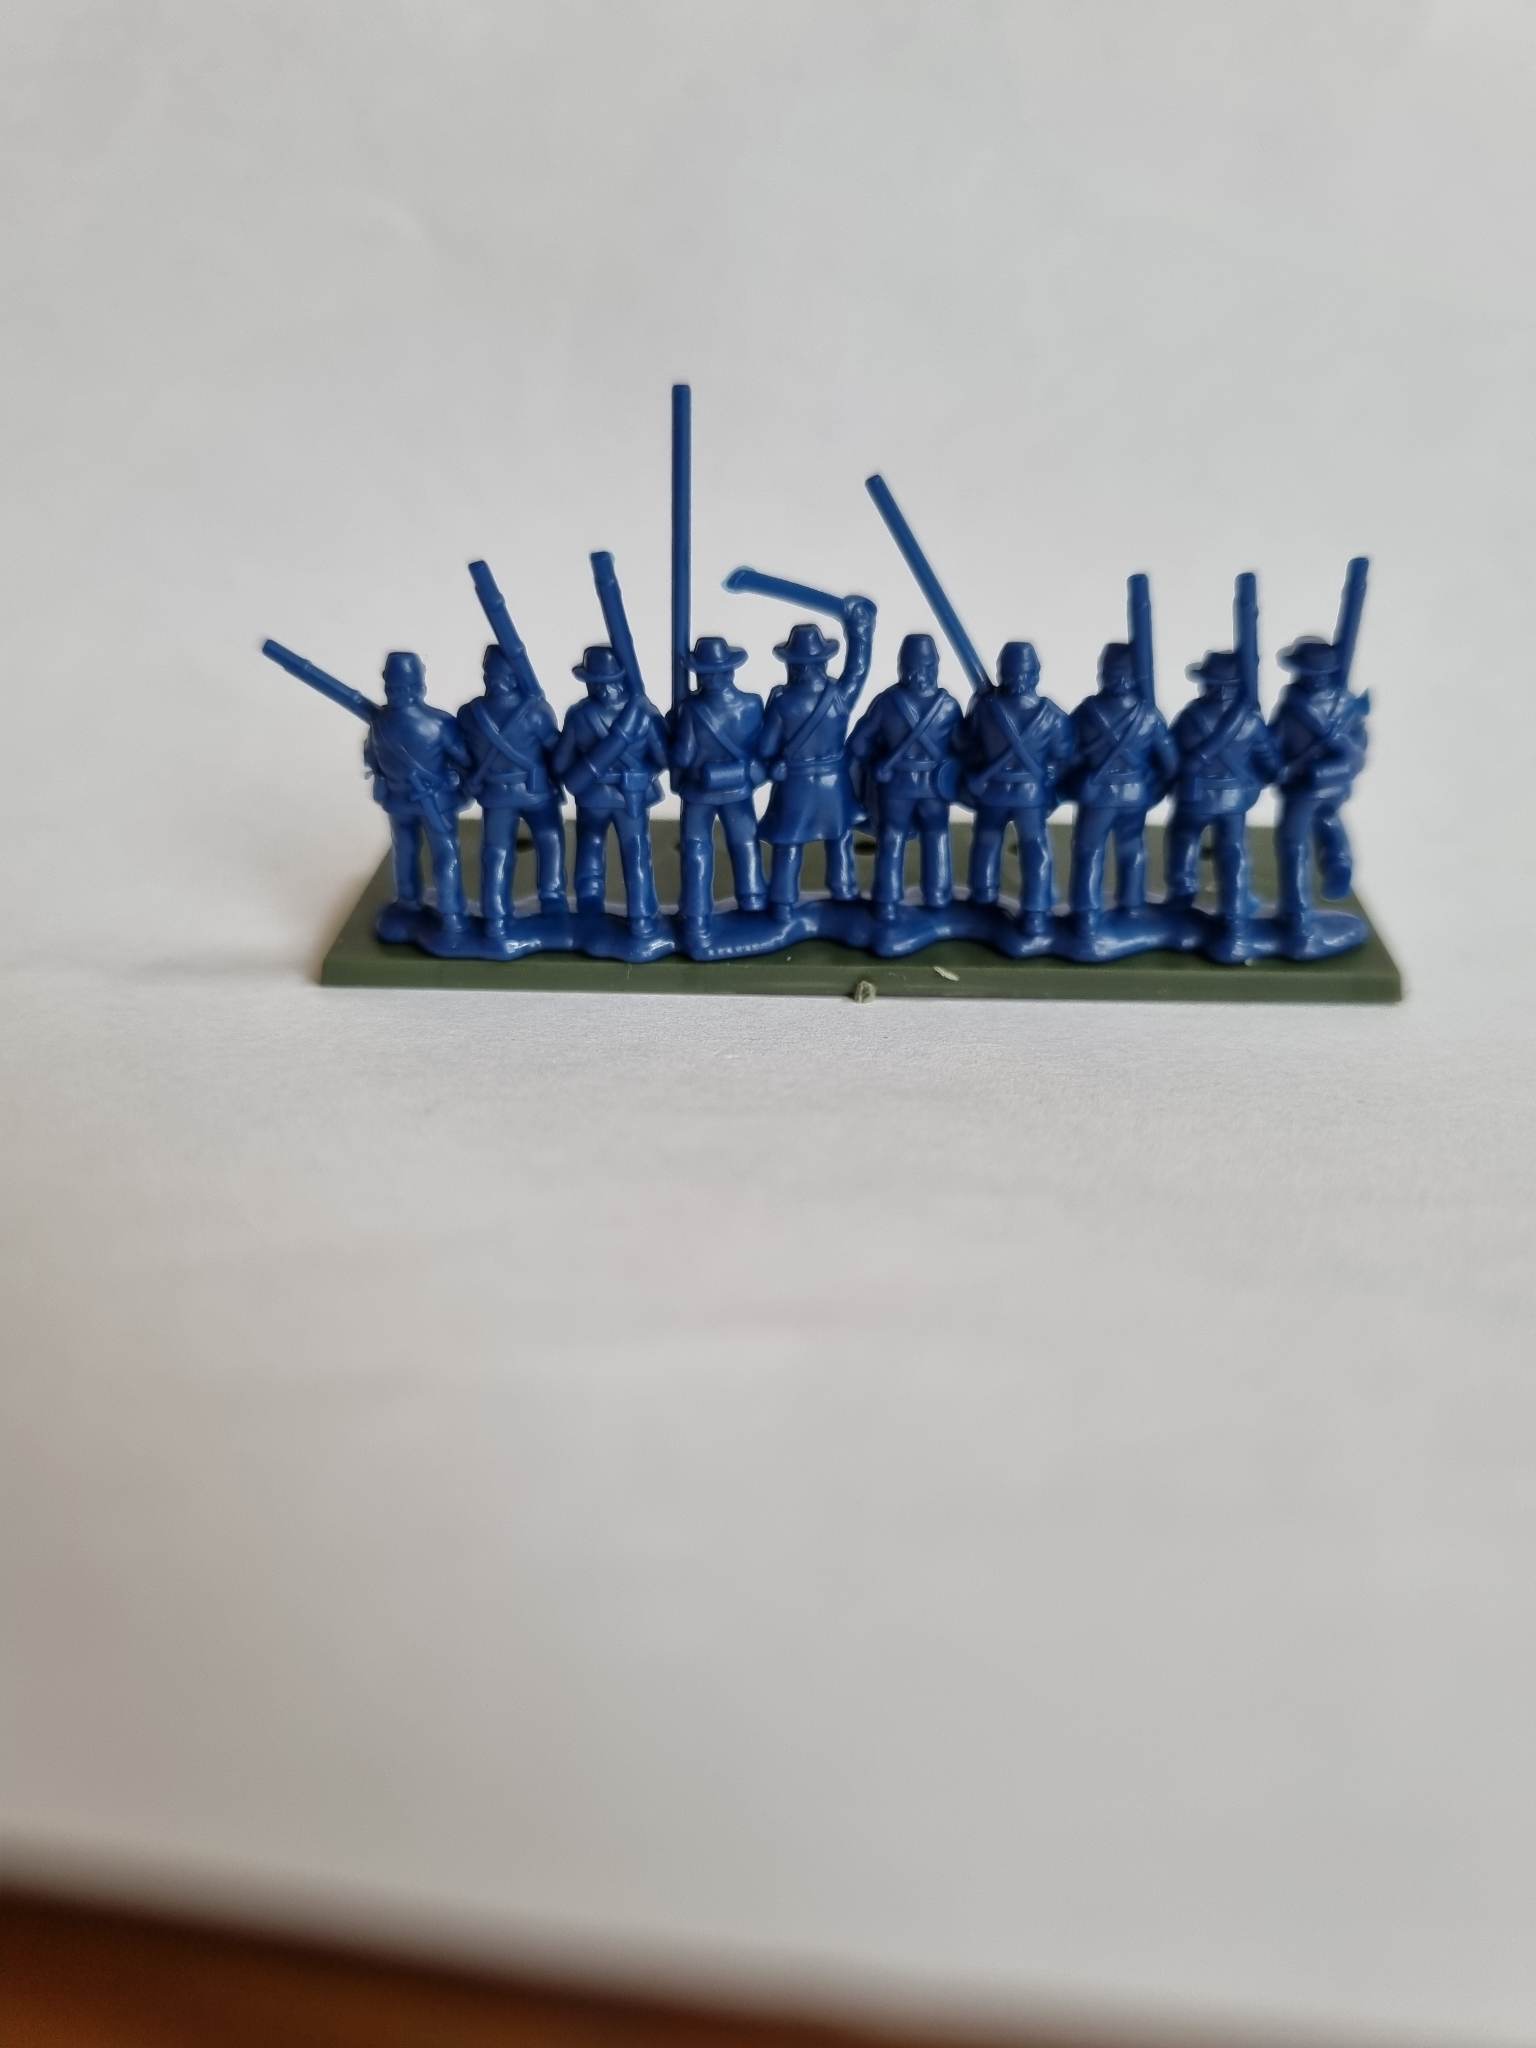
This is a Stripe A - a knife strip - 4th guy from the right looking from the back have his bayonet/knife visible on the belt. You are getting 5 of this stripes to a sprue.

And Infantry Strip B (4 to a sprue)

And most important Command strip

 It features commanding officer - most of the time he will be a colonel), drummer and pair of standard bearers. Throughout the war Union regiments carried pair of flags, a national flag (national colour) - a stars and stripes flag with few difrent arrangemnts of stars and regimental color - which was generally dark blue with coat of arms and with some different styles present (like green Irish brigade flag and such). But confederate regiments normally carried only onne battle flage be ther a one of national flag variants, state flag or regimental flag. So technically correct this stripe have more flag bearers than CSA regiment would require. Easist way to confederate your stripes is to cut one of the poles to a rifle length and paint it as one... and its enough its unrecognizable from half a meter distance and just another rifle on the table. No more work is needed but... we want to multiply our bannerem not hide them so:

So this is the first and simple way to mitigate it for confederates - split the strip and use flag bearers as centerpiece of 2 bases.

Those 2 bases use one commend strip and no converting or sculpting whatsoever. Just simple cuts and those strips cut easily in some places but look closely before cutting to choose places with minimal damage to the arms...

 Similarly infantry stripes cut nicely -but again mind the cuts as they cut in many different ways.

If you want to have officers in each sprue there is easy way to incorporate command figure from our sprue that no matter the rules you want to play them with you inevitably will end with a lot of spares.
Lets look at Black Powder as advertised (and provided in the box) ruleset. You want one officer for 3-5 regiments of infantry. So 1 sprue worth of commander per 3-4 sprue worth of soldiers.  Here is union base I made  as my first command base. and my most recent confederate base with mounted officers. 
ACW regiment commanders fought both on horse and on foot in battle. Sharpshooters was a thiong but extra mobility was always important.
Both bases are made by incorporating mounted model and put on the base with cut up stripes of infantry/ command strip. Union base have flag poles made from pins heated over the fire and melted into the model in place of the rifle. Really simple conversion but be ready to destroy one or two dudes if you've never did anything like that. Generally this plastic takes heated pin perfectly well and provide solid bond.

Here is an example of a strip with two banner poles added in place of rifles and some work done on the officer figure (rifle trimmed to look like sabre hold at rest and long coat and sash and drum for the drummer made from green stuff. Simple crude work that is completely unnecessary but its cool to have a drummer.

If you want to go deeper you can convert commanding figures in easy and complete rebuild way.
Easy way is again utilizing mounted commander cut in waist and placed on infantry body, and rebuild is an infantry model with arm added (here in armature state)
Mounted model cut easily at waist but you have to watch out for his sabre arm and cut some of the horse mane (especially if you want to use the surplus horse ( I want)

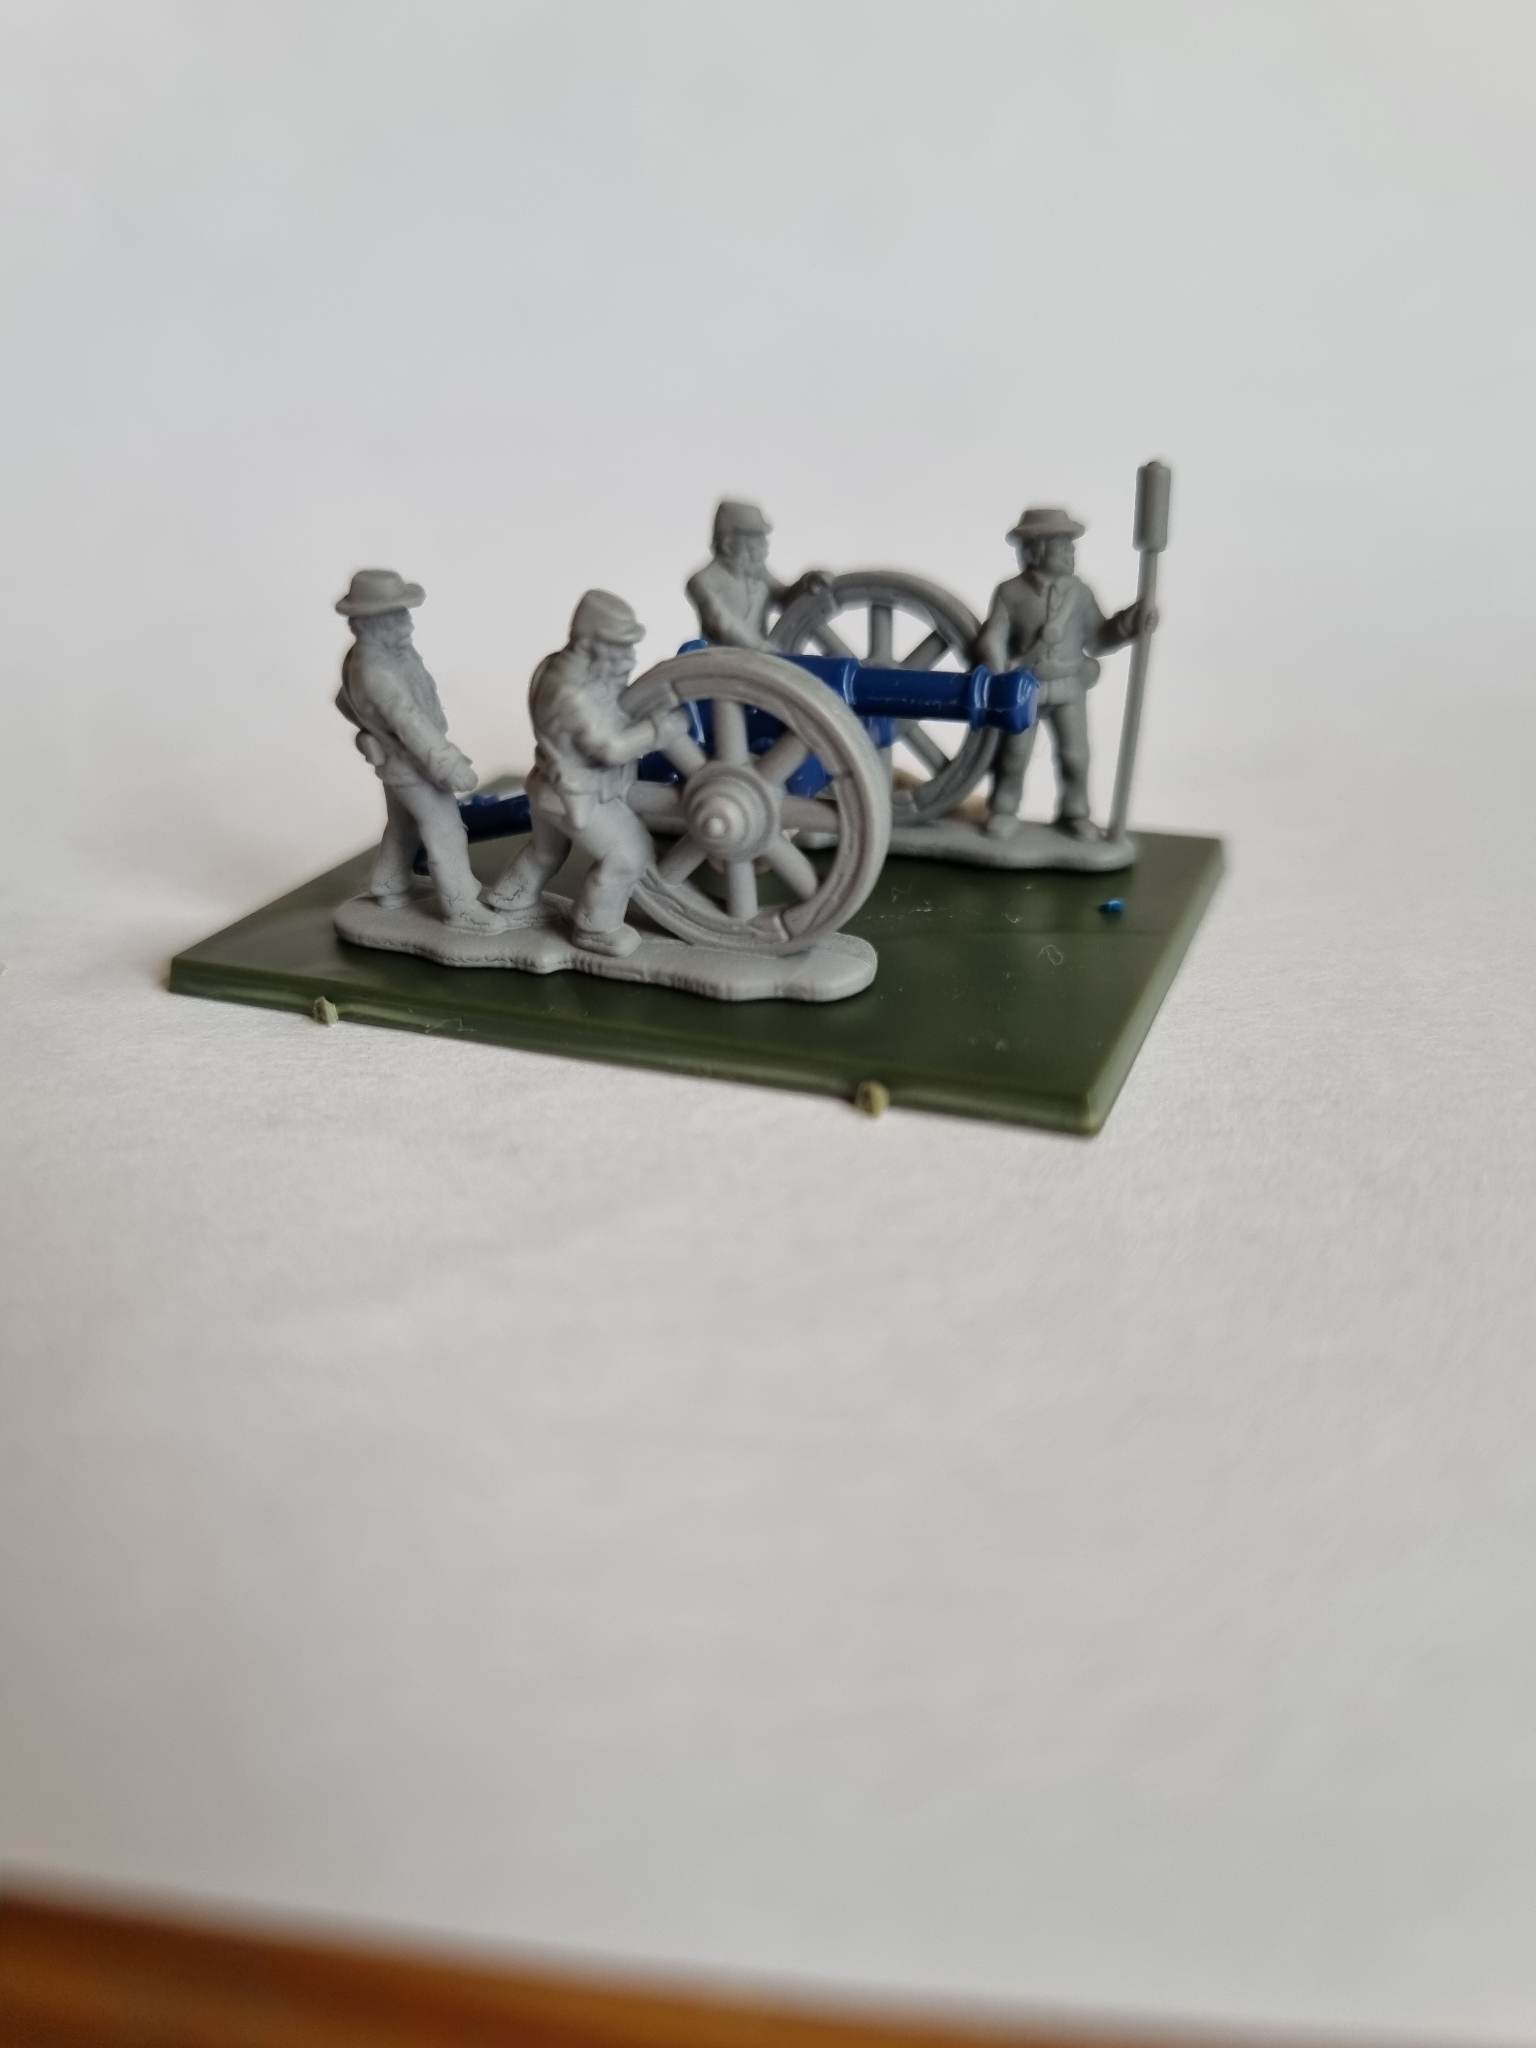
Finaly last part f the sprue is artillery piece. Cannon and 4 crew.
There is some controversy what kind of cannon this piece is meant to represent. Its not most prominent 12 punder Napoleon cannon for sure. Judging by its looks its most probably 6 pounder or 12 pounder howitzer (which looked alike just howitzer was larger). COnverting them to Napoleons will be may next project :>


Summary: This is almost perfect sprue for gaming in ACW. My only gripe is strange choice of cannon barrel (and lack of  command sprues but that is hardly a valid argument to have against sprue made for certain game miniatures allowance in mind). Warlord is producing command sprues - but they are copies of the plastic one unfortunately and not thet affordable). Another way to suplement command figures are metal miniatures. There are some comparable in scale and style but they werent so easy to get so I ended with working what I got - and you getting a lot of spares in the starter box if you want to play in 3 bases per regiment. 
Another thing to consider is small number of strips. It could easily be a 9 different infantry strips in place of pair we getting - or at last 3-4, and it should be quite easy to do with 3d designed models. Warlord did this with Napoleonic and into a perfections with nevest Pike and shott sprue where every strip is different. But ACW sprue was the first one - so all upgrades came from lesson learned with it.

This is great wargamming product. Honestly I havent seen anything of this usability for a long time.
Only comparable product really in  usefulness as one product for a whole conflict to wargame   will be sprues for Pike and Shotte.


piątek, 4 marca 2016

Wooden fences finished

Those are wooden fences - from my Cheap Wooden fences tutorial few months ago - fast paint - just delayed (I am lazy and easily distracted painter)

And with 3 random models from my painting bench for scale ( Æwulf  Viking Warlord, Malifaux Nicodem and French Fusilier from Italian campaigns)


piątek, 6 listopada 2015

Fast cheap and dirty: Wooden fences for free and in 10 minuts

If you know me you know that I don't like terrain making. I have great ideas but i fail to finish most of them, and they lay everywhere for ages pissing off my dear wife.. That why i love when i can do something fast, cheap and make it look cool during the process.

So here are my How to make you wooden fence in easy steps.
Those are needed components. A coffee sticks (i salvaged mine from IKEA and Starbucks (but they can be bought in bulk. They are main component of build. Base will be ice cream stick - best kind are from magnum or similar posh ice cream as they give better stability. Last component required are 5 matches.
First you have to decide on fence heights, in this example I went for 30 mm of height. I built 40mm sections earlier, 50 mm shouldn't be any problem.You may reconsider the method and materials with smaller fences as it will star to look dodgy with anything smaller than 25mm cm.
I marked 30mm section on my coffee stick.
Then you have to make a supporting pieces. They are very important so you have to decide how long they should be. Best length is a 2mm shorter than whole fence section (for ease of lining them on the table and making corners. At this stage you need to decide on length of the whole section. As I went with ice cream sticks for bases I wanted it to be around 100mm long.  Its worth to mention that fence itself should be a little longer than base itself (again for ease for stacking and making corners).
Then you have to gently cut a coffee stick in half..
Then its time to cut the boards themselves we marked earlier.

I used the scissors instead of exacto knife for two reasons. First its much faster, secondly t makes some of the little boards rough. Remove any splinters for worn out look. If you want very new fence use exacto knife for precise cuts.
Then its time to dry fit everything and make supports from matches. Just shorten them from the sulfur side.

Then its time for gluing: I used both wood/PVA glue - that I recommend, and superglue that bonds faster but its more difficult to work with, and you still need wood gluo later..
After gluing first support you have to tame care for all boards finishing in line on the bottom part of the fence. Fortunately wood glue leaves our a lot of time for fitting.

Now we are going to glue supporting posts, and glue whole section to the base. I do it in one step - glue is bonding fast enough and I am a bit reckless - but you may wait the fence to cure well before going to this step. Its important to don't glue posts before gluing to the base as they work in this piece of terrain exactly like in nature - they support the fence and decided on its potential tilt to the side. (Technically you could do this now and let it cure safely but it will be much more time and effort consuming.)
So after gluing a little matchstick post to the back spread glue on the whole base.
Then wait a minut or two and just delicately take the fence up and just stick it th the gratitiously smeared in glue base.

Now its time to fit it well. That is why we did not glue post before, after one minute they are glued but are still movable and let you control angle of the fence with gentle movements.
Now wait another minute or so and take whole unit gently and apply sand to the glue at the base... and voila..
Depending on how fast you is setting you might want to use something to keep it straight during the curing process.. I use miniatures with pointy sticks.

Finished fences look like that:

For something that take 10 minutes to do per unit and cost you practically nothing - its very very easy to do its pure win.
They could even work as is without painting - as you see coffee sticks have nice weathered and different colors. Its best to paint sand on the basses though, unless you are going for desert town.

wtorek, 24 marca 2015

DeFOWing Battlefront Kubelwagens

While I am not in a least interested by Flames of War rules I have to admit Battlefront produces rather large portfolio of models for it in my favourite 15mm/1:100. Some are better some are worse, but overall quality of the models I poses is good to very good.. Only drawback is resin - I don't like working with it.. but for most part I don't have to at all - all I have were quality cast.. What i have to deal with are cats bases.. Oh how i hate them.. I couldn't stand my Kubelwagens - a little buggers on their bases standing close to normal models without the bases.. So they have to go..  I pack my Drelmel styled tool and started to cut. I can give you one recommendation if you are like me.. Don't.. Cutting bases is ineffective and you risk damaging the models (i have to greenstuff the wheels and some cuts on mine..).. What I can recommend is Dremel sanding tool.. like this one (random photo from the Google) 
You have to be cautious tho.. Its really easy to do, it works like with butter.. But it produces insane amounts of toxic resin dust so wear protective goggles and mask and do it preferably outside. And wash your models after the process..
Here are me before and after photos:
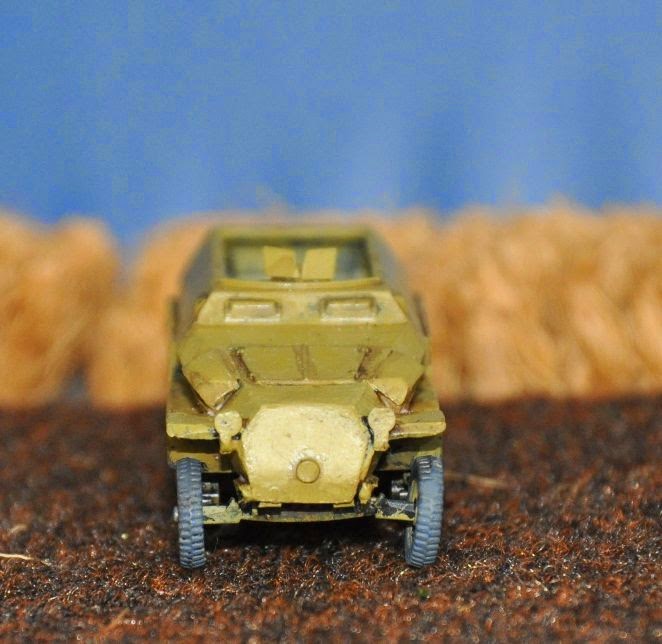
This is starting looks, bases are rather annoying and look how high they are in comparison to 222 !!
So after 15 minutes :


Like new... sooooooooooo much better !!!!

Now .. how to remove the base from smaller one :P

wtorek, 25 marca 2014

How to convert Zvezda hanomags 251/ B for a C :>


If you are like me you bought cheap and excellent Zvezda Sdkfz models at a whim. There are to cheap not to get one each time I am in friendly miniature shop..
But technically speaking I don't want old Sdkfz 251 B - they were almost extinct in late war period - 43 + I am interested with.
Willing to play with them and don't lie to myself that they looks like each other I have but one option - conversion. So I tried.

 My first try was to hide obvious type marks. It is doable with front plate but mudguards and boxes are much harder to do.


Most important differentiating features between C and B are - Front, engine armor, mudguards, boxes and viziers at the sides.
1: Front. To change Sdkfz from B to C we need to cut it front completely. Happily front part of the Zvezda kit is made from two parts and cut easily. Best bet of cut is around 60 degrees- best to check on some pictures/plans. Then you have to replace front plate with thin plasticard and cut to shape - and fill any mises.


2. Second part is removing mudguards. Its easily done but you have to plan at this stage. You could either remove full mudguard to a straight finish or do it in more complicated way (its quite easy to do thanks again to models construction but takes a little more attention - but gives more sturdy model finish. Here i decided to do it more complicated ay but other works too (tested on another model)


3. Then you have to form a mudguard to have correct shape, easily done with plasticard. Just be aware and not to break it. It should generally go a title high then a smooth don and be straight again near place where upper armor plates connect. Its simple in reality.


4 part is removal of upper side plates that protect exhaust on B version but are removed in C,- that very obvious, and filling holes in the model.


5 In this step you have to make new boxes. They should go from mentioned point where armor plates meet to end of the flat mudguard part. Building them from flat 2mm plasticard is very easy and add structural integrity to the mudguards.
Plasticard have to be formed to fit straightly and stick to both wall of the vehicle and mudguards. Then add box covers from thinnest plasticard.


6 Next part are protrusions on the engine armor, they are easily done from plasticard with nice file.


7. Finishing touch is gunshield and round cap in the front. You might add front towing hooks at this part. When you cut front part of the mudguard - it falls downward in B and is simplified in C last thing to do is adding of Lamps that will be lost. Fortunately great part is on the sprue in form of parts that are attached to the wheels on the sprue. They are perfect sized and shaped. Don't forget to sandpaper side vision slits in the back and tools from the side armor.


Here is the final Effect


Is this good way to convert them.. Well if you have time and models. Or are starving for cash.. Otherwise buy excellent PSC or new battlefront late Sdkfz Model. But if you have Zvezda models its worth the try and looks good on the table.

Now to finish painting this one, and its ready (well thats a lie i used it like that in recent game of Chain of Command :) but it still need some brushwork ..
Related Posts Plugin for WordPress, Blogger...